
How to Make Them Last + Aftercare
Application
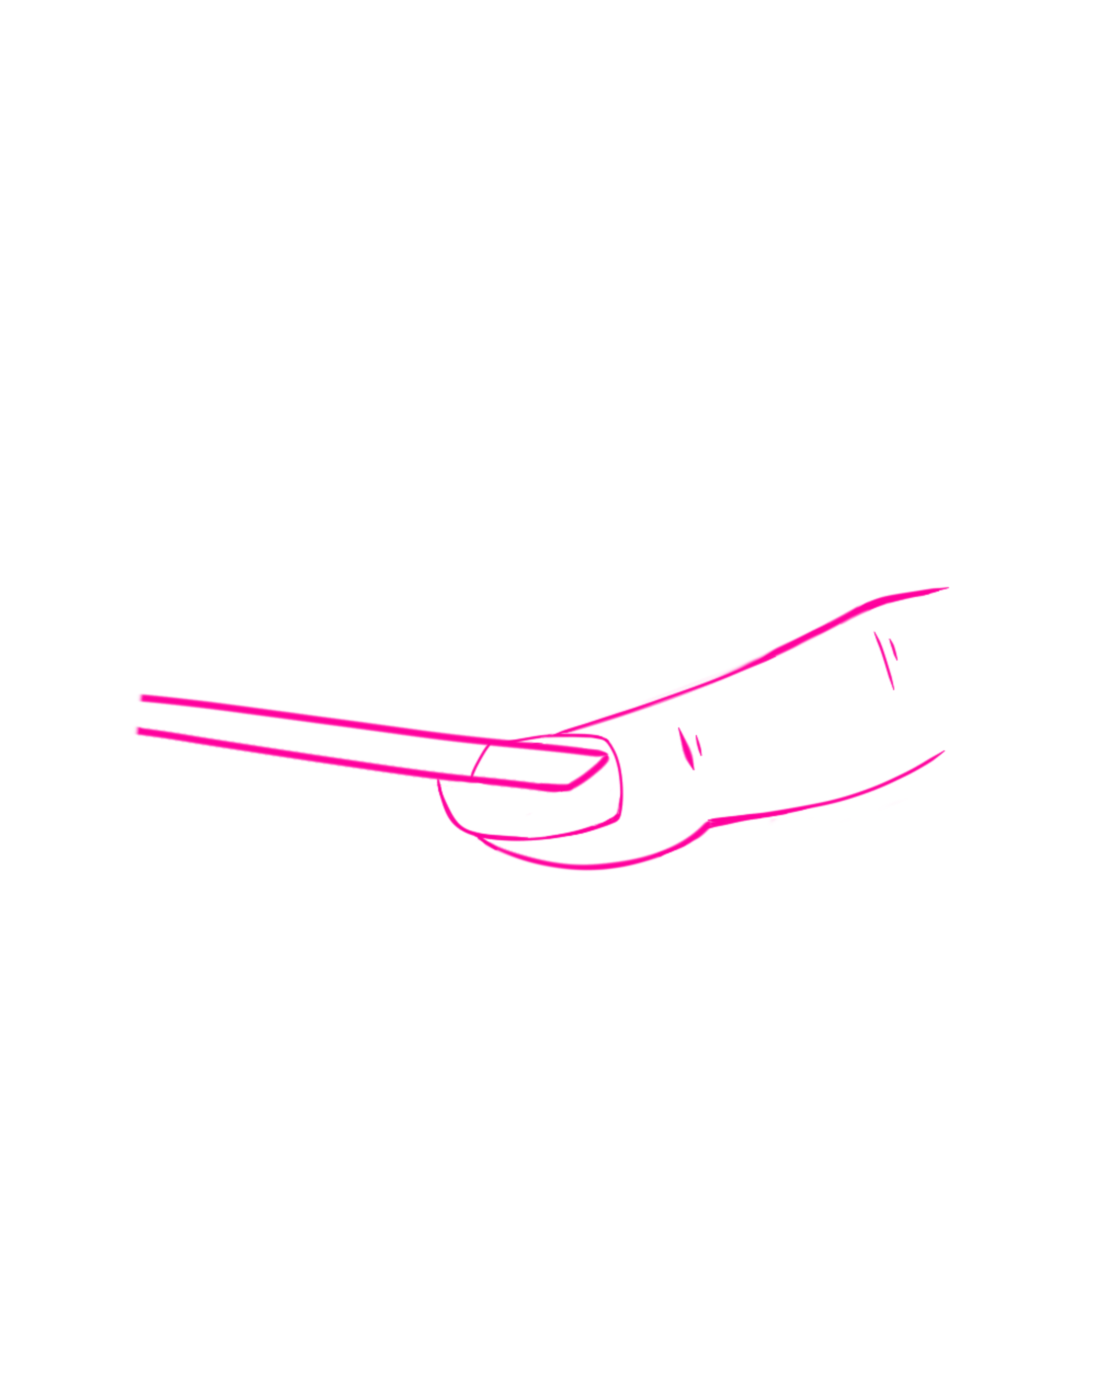
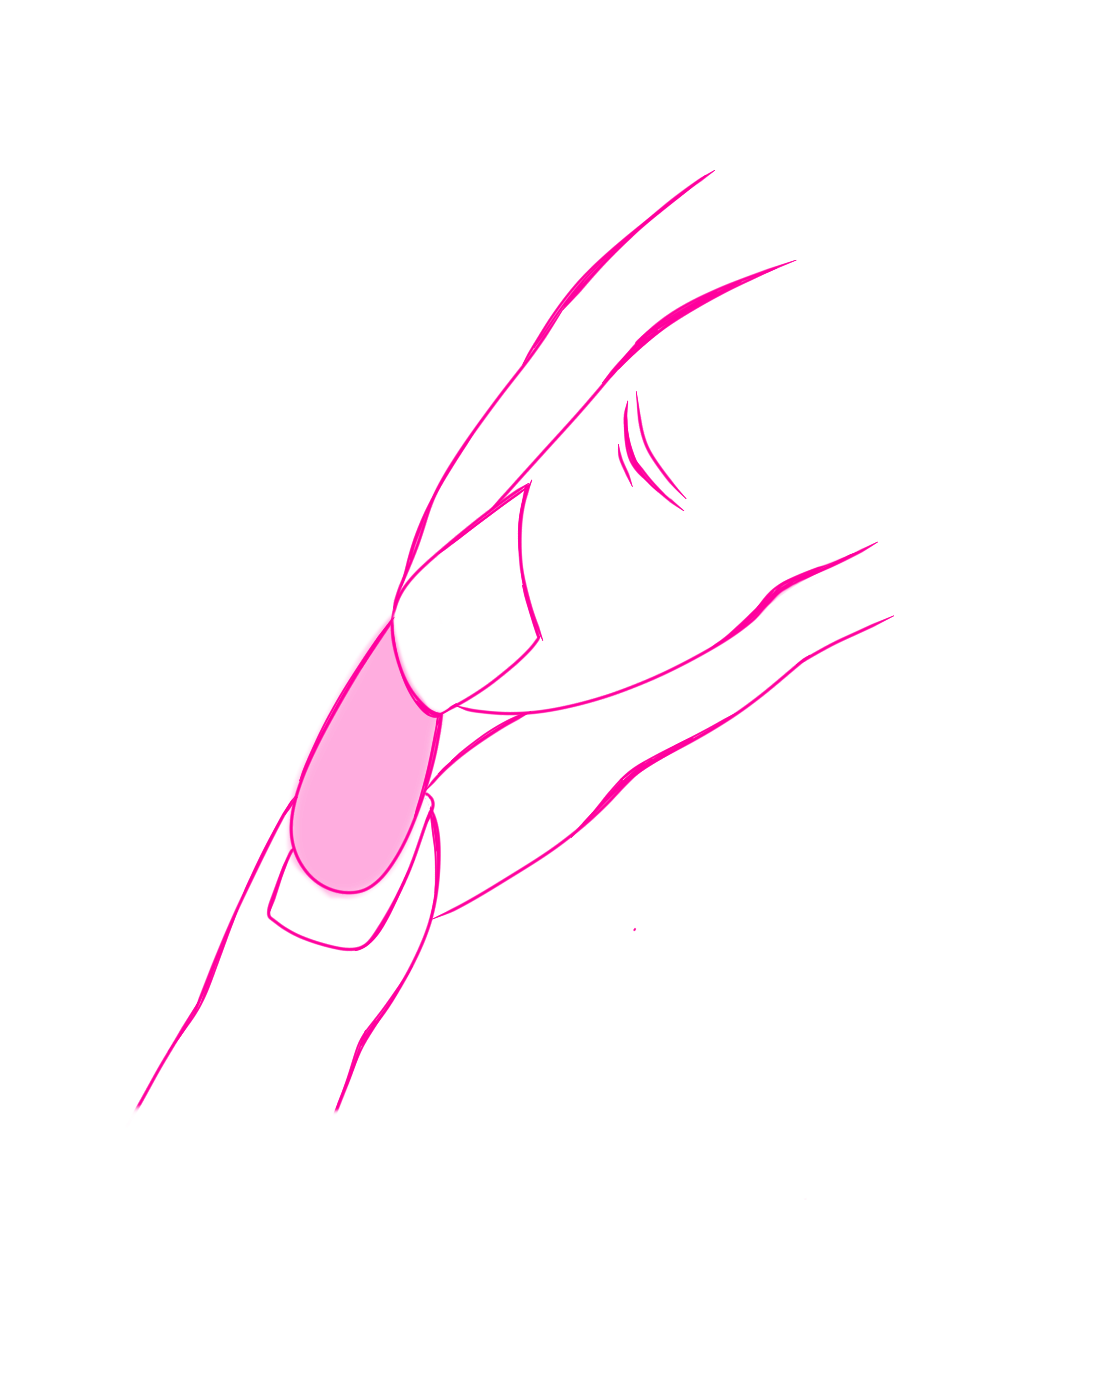
1. Push Down Cuticles
Use the wide end of the cuticle pusher to gently push down your cuticles.
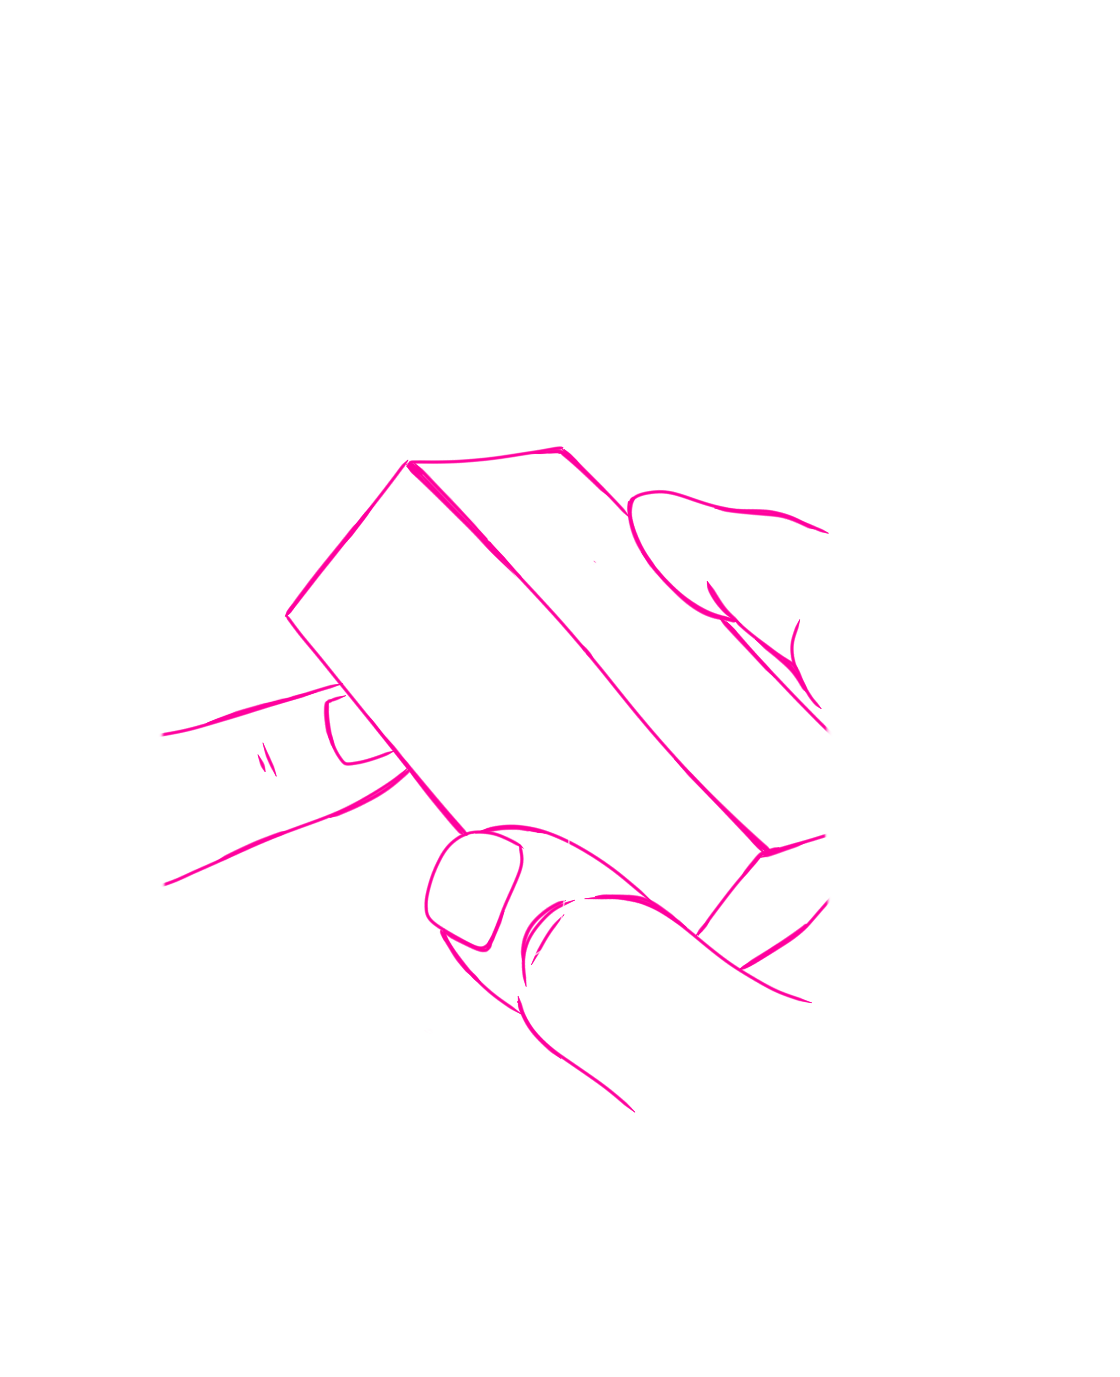
2. Buff
Use the square buff to buff the surface of your nails. Try and buff in one direction, following the direction of how your nail grows.
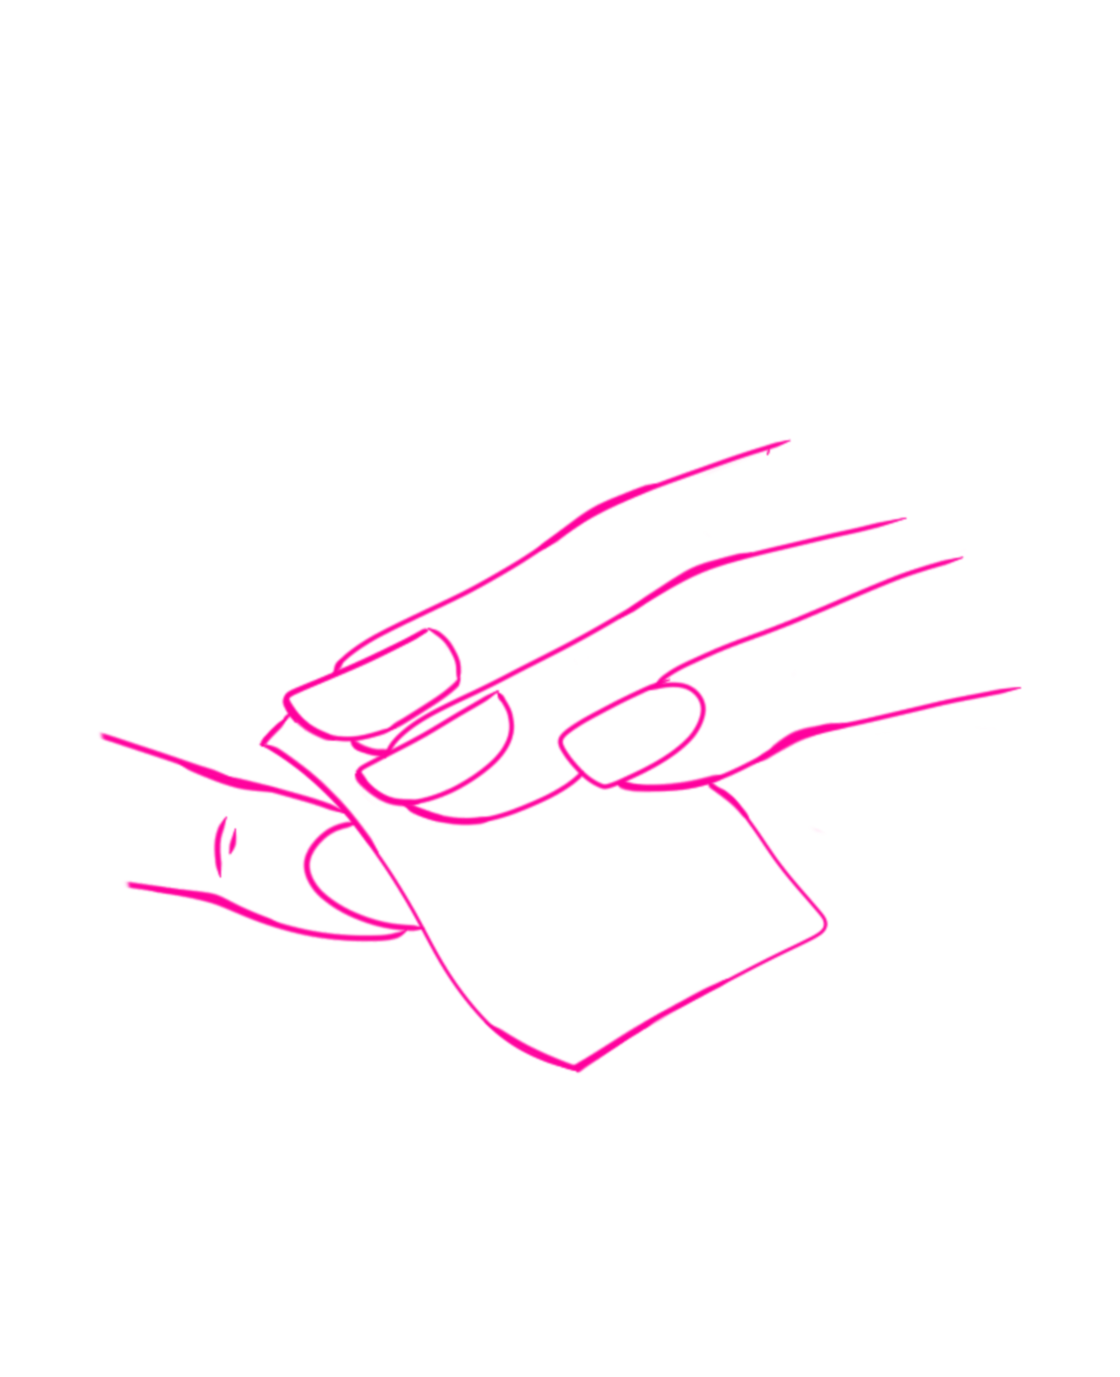
3. Wipe
Wipe down each of your nails with the alcohol wipe. Pro tip: Try and use a different piece of the wipe for each nail to avoid contaminating the rest of the nails. Apply the press-ons within 10 minutes of wiping for best results.
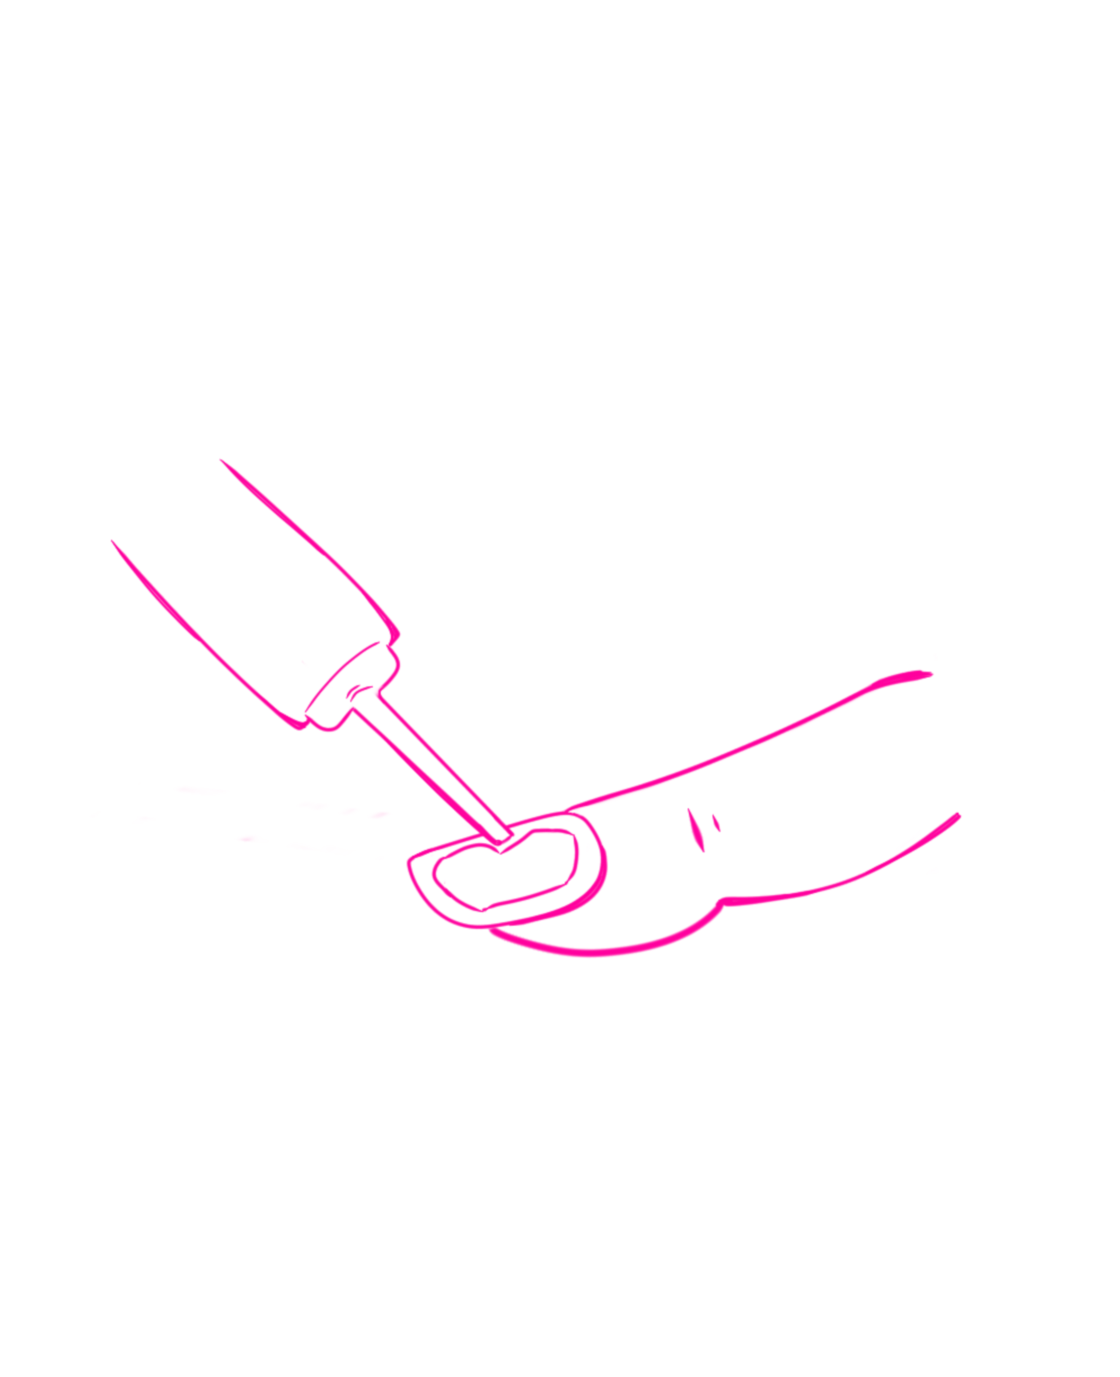
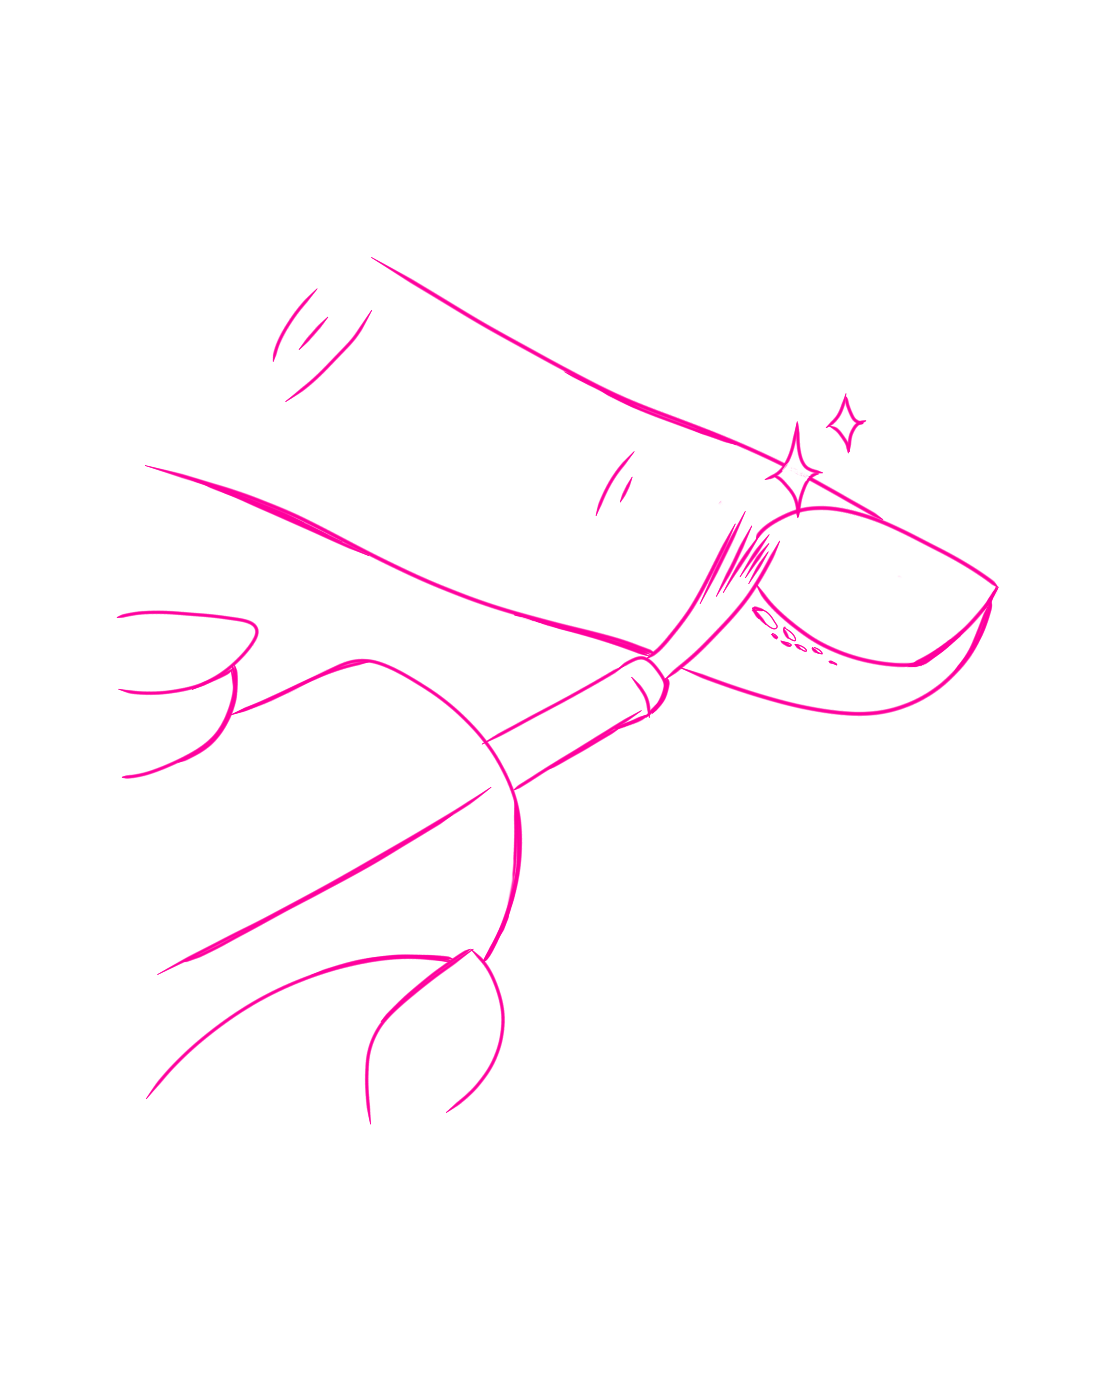
4. Glue
Before opening the glue, be sure to remove the press-ons from the box and lay them out, ready to be applied. Snip off the very tip of the glue applicator and apply a thin amount of glue on the nail. Spread out the glue so that it covers most of the nail, but does not reach the edges of the nail.
5. Apply
Press down the press-on for at least 20 seconds each. Pro tip: Avoid wetting your nails for at least 1 hour to allow the glue to fully bind.

6. Using Temporary Adhesive Tabs Instead of Glue
After step 3, remove the film from the adhesive tabs and apply each one to your nails. Then, remove the separate films on each tab and apply the press-ons. Pro tip: These tabs last about 2 days - recommended for events or photoshoots.
Removal
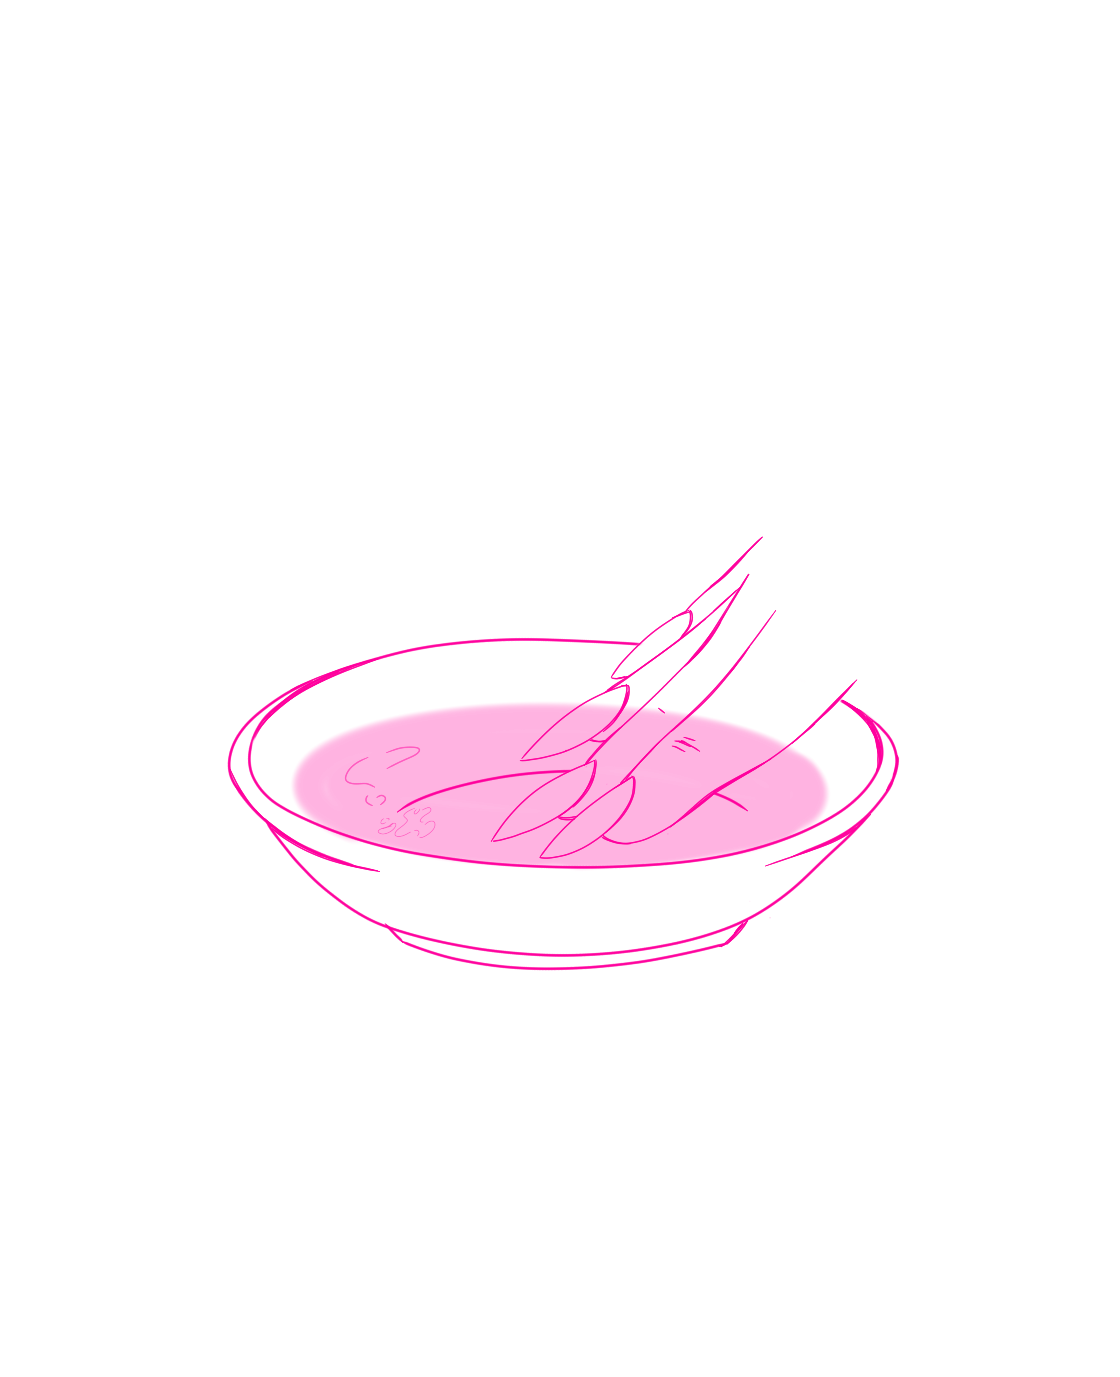
1. Mix and Soak
Mix oil and soap into a dish of water. Soak your nails into the mixture for about 20 minutes. This will soften the nail glue.

2. Remove
Use the cuticle pusher to gently push under the edges of your press-ons, little by little around the whole nail until they pop off.
3. Nourish
Use cuticle oil to nourish your cuticles and enjoy your free nails!

4. Press-On Nail Care
After removal, use rubbing alcohol to clean the press-ons. Pro tip: If any damage occurs to your press-on such as scratches or rough patches on the surface, you can use any top coat nail polish to freshen the surface like new for another wear!